Google Marketplace Deployments
Bindplane Enterprise Edition can be deployed from the Google Marketplace
This guide will walk you through deploying Bindplane Enterprise on a GCE instance using the Google Cloud Deployment Manager.
Deploying and Configuring Bindplane Enterprise
Navigate to Bindplane Enterprise offering in the Google Marketplace Here. From the Overview tab, click ‘Launch’ to start configuring your deployment.
note
Bindplane Enterprise requires an enterprise license. Contact the sales team for more information.
Configure your Deployment
From the New Bindplane Enterprise deployment page, provide a friendly Deployment name. Modify any other settings as needed. The license key recommended but not required. After the deployment is created, you will need to configure the license key on the instance if not provided here.

Deploy the Bindplane Enterprise Image
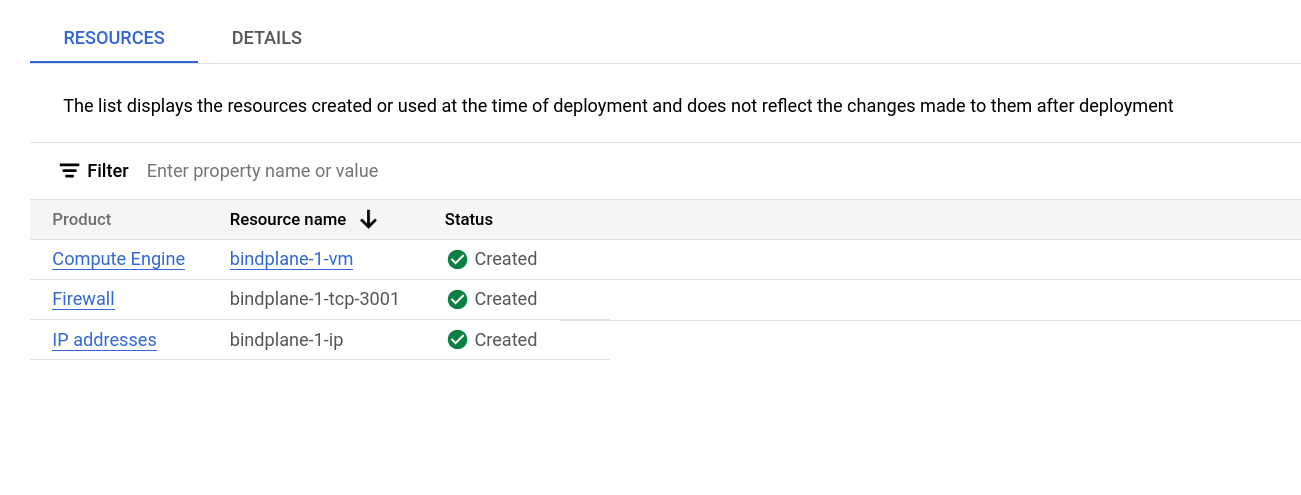
Deploy the image with the deploy button. This will kick off the deployment using Terraform, automatically within Google Cloud Marketplace. A typical Bindplane Enterprise deployment takes about 5 minutes.
Accessing Bindplane Enterprise
-
License Configuration: If a license was not provided during deployment, SSH into the machine and execute the following command:
sudo BINDPLANE_CONFIG_HOME=/var/lib/bindplane /usr/local/bin/bindplane init license --config /etc/bindplane/config.yaml.
Confirm the restart prompt by selecting 'yes' at the end of the command. -
Service Management: For those who have already provided a license, enable and start the Bindplane service via SSH with these commands:
sudo systemctl enable bindplane
sudo systemctl start bindplane -
Firewall Settings: To enhance security, adjust the firewall rules by navigating to VPC Network and selecting Firewall.
-
Password Retrieval: Access the password by checking the
auth.passwordfield in the/etc/bindplane/config.yamlfile. -
Web Interface Access: Log into the Bindplane web interface by entering the instance's public IP address followed by port 3001 in your browser. Use the username
adminand the password obtained from the configuration file.
After completing these steps, the Bindplane interface will be accessible with the configured ports. For further instructions, proceed with our Quickstart guide, starting at Step 2 for Accessing the Bindplane UI.